Whether you’re exploring Meteroid for the first time or preparing for a production deployment, we recommend following these steps to test and validate your setup safely and efficiently.
1
Create Your Meteroid Account
Start by creating an account on Meteroid. This gives you access to the billing platform and all the tools needed to manage subscriptions, invoicing, and payments.
2
Choose a Safe Testing Environment
We strongly recommend testing in a non-production environment before going live. You have two options:
Development Environment: Ideal for custom setups or teams integrating Meteroid into their own infrastructure
Sandbox Environment (with sample data): A preconfigured environment populated with mock data, designed to help you visualize how Meteroid works for your business
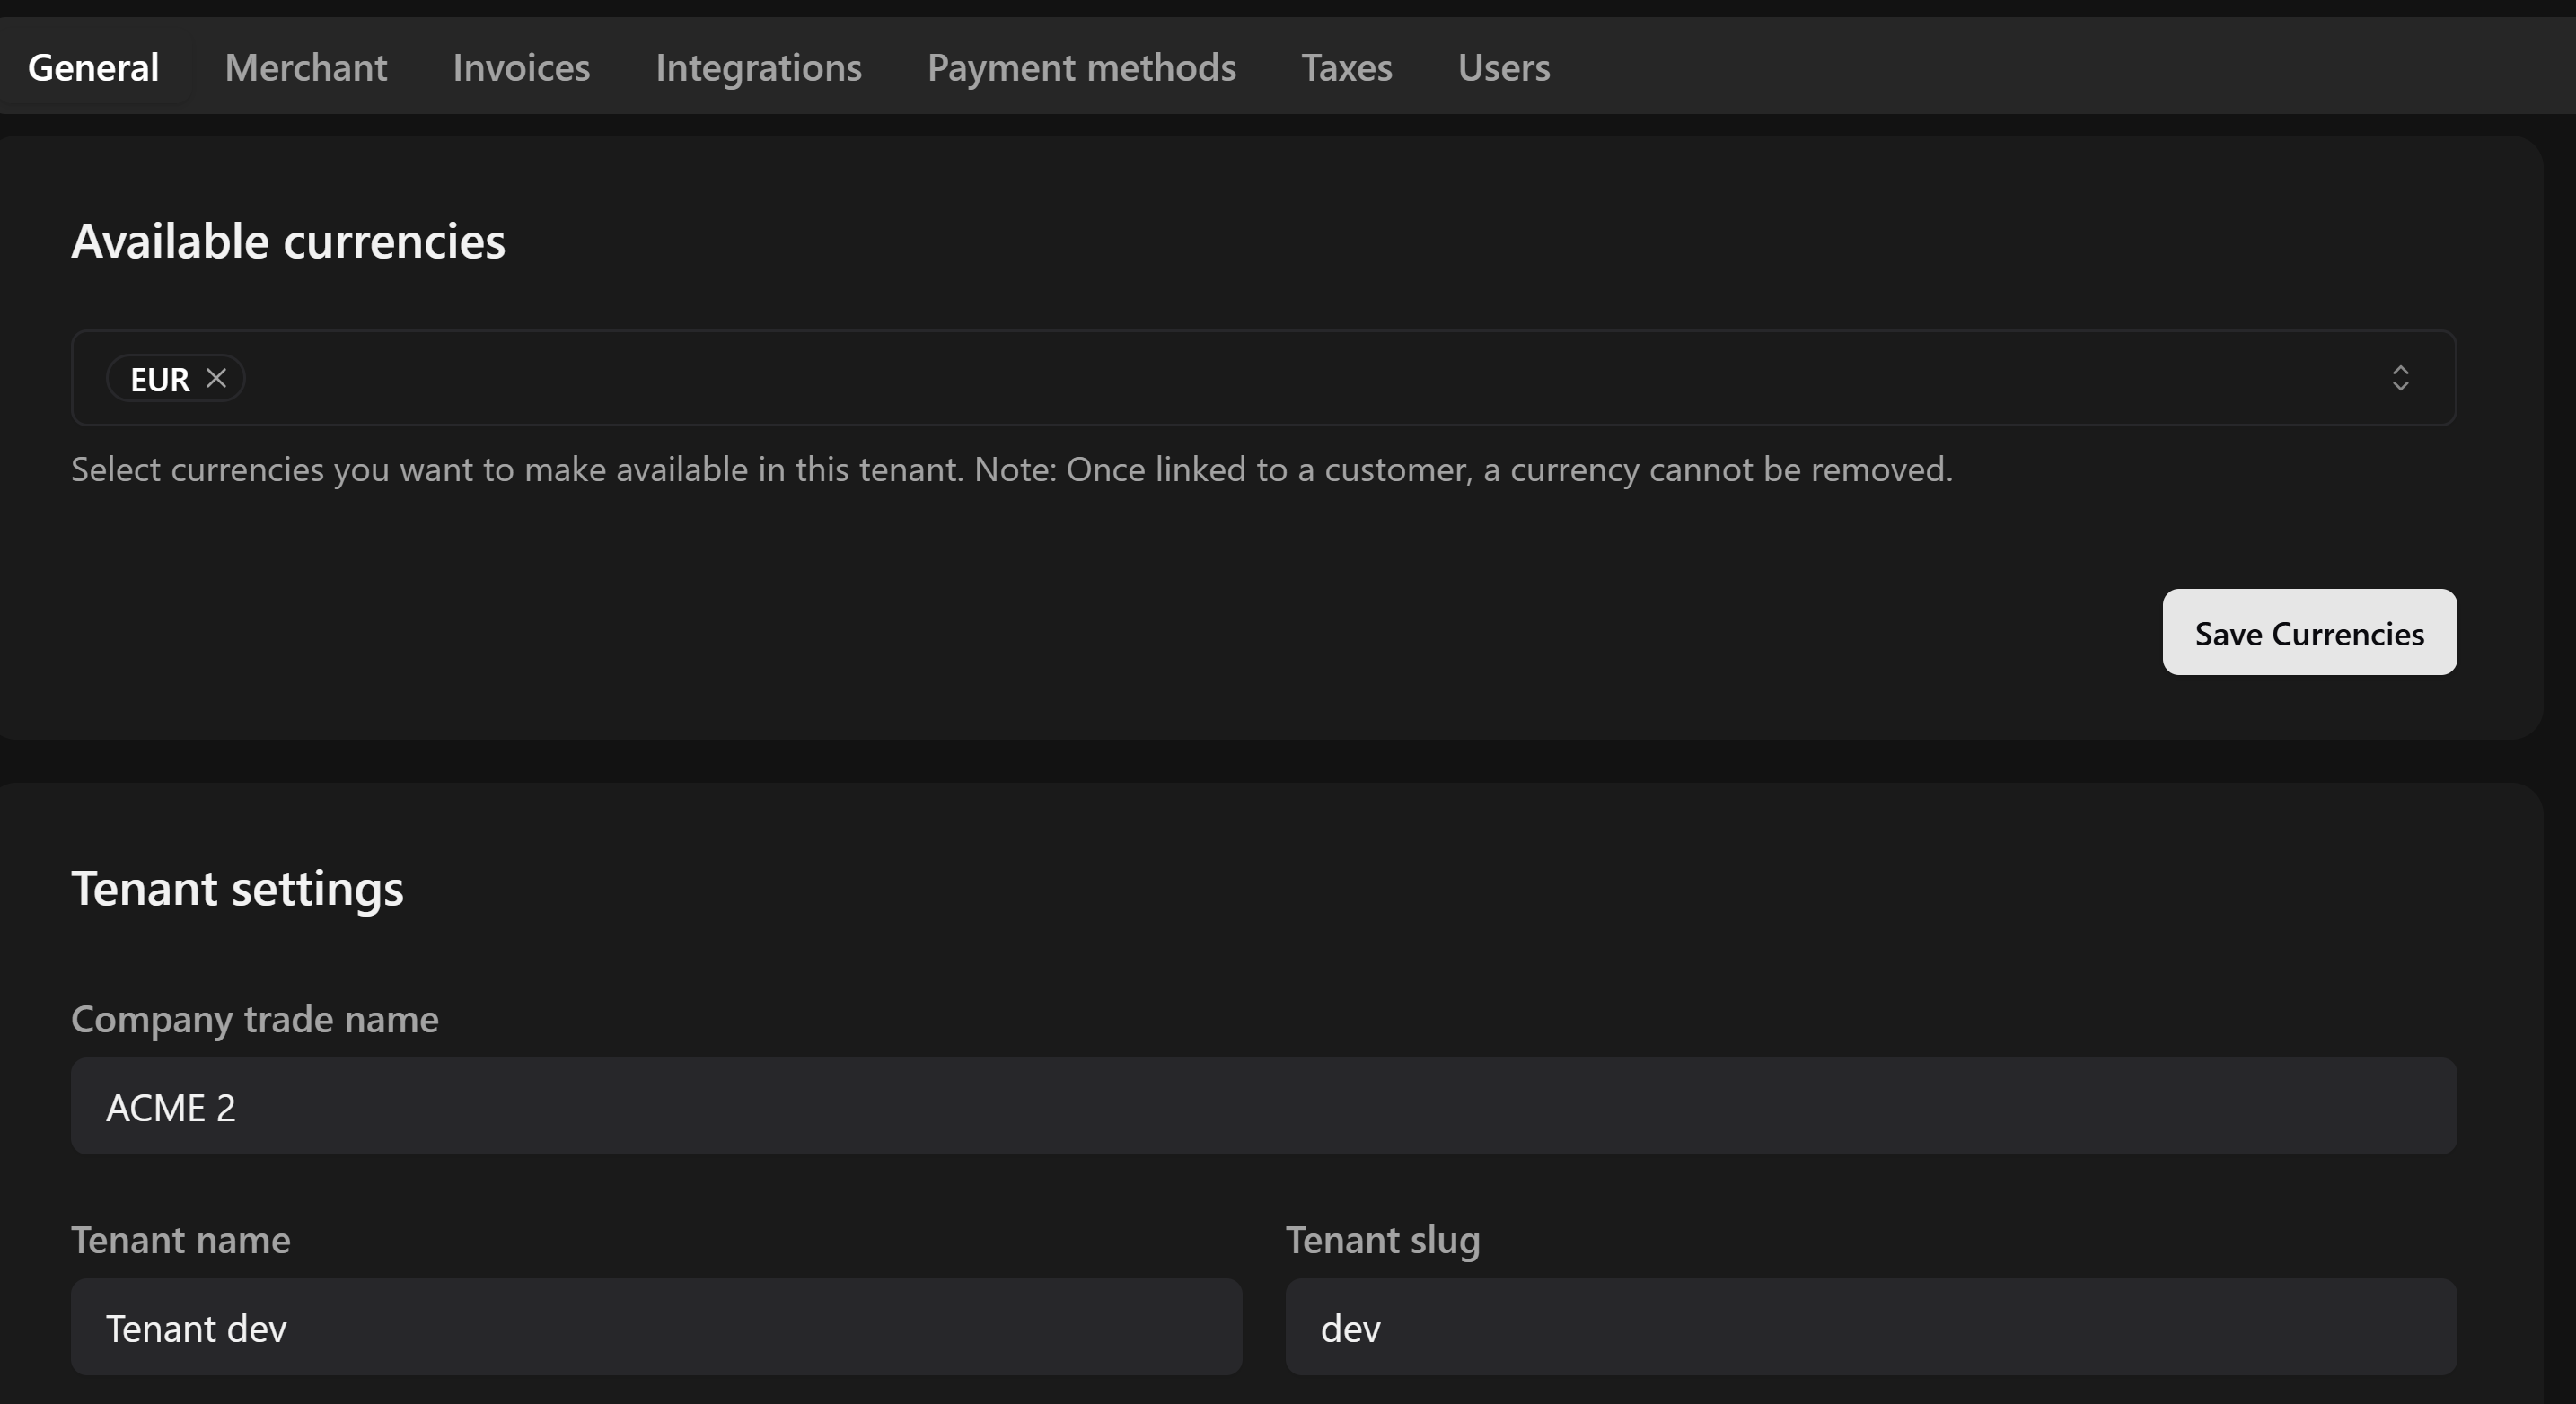
To confirm you’re in the right environment (also called a tenant), go to Settings > General and check the Tenant slug — this will be “dev” for Development, “sandbox” for Sandbox, or “prod” for Production.
Settings
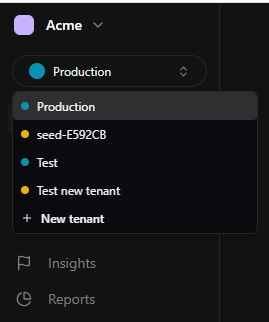
You can create additional tenants at any time by clicking New Tenant.
Main navigation
3
Set Up Your Invoicing Entity & Payment Methods
Before testing or going live, make sure your invoicing setup is complete:
Invoicing Entity Details — Go to Settings > Merchant and ensure all billing information is accurate. This will be reflected on all generated invoices.
Connect a Payment Provider — If needed, connect Meteroid to your preferred payment provider via Settings > Integrations. Meteroid currently supports Stripe.
Define Payment Methods — Go to Settings > Payment Methods and choose the options available to your customers (Credit Card, Direct Debit, or Bank Transfer).
4
Create Your First Subscriptions and Invoices
Once your environment and billing setup are ready, you can simulate your first usage:
Create Metrics(if your pricing model is usage-based) via Product Catalog > Metrics
Create Plans under Product Catalog > Plans with your desired pricing, trial, and billing configuration
Add Customers in the Customers tab
Assign Plans to Customers by creating a Subscription from Billing > Subscriptions
View and Manage Invoices in Billing > Invoices — Meteroid automatically generates invoices based on each subscription